Here is my first tutorial you have been waiting for so long! I am terribly sorry it took such a long time, but I had some unforeseen difficulties with this craft! I was first inspired to do this craft when I saw the idea on another blog. I thought it was an awesome craft to try out and a decently inexpensive one as well! All I needed to purchase was some fabric, oven cleaner and eventually hydrochloric acid. : )
This craft shouldn't take more than a day to complete, sadly for me it took me several due to my unusually antique mirror. The mirror I decided to use was from 1939 and made in Philadelphia! It was one we had that was being unused at my house. For this tutorial I would suggest trying to find a newer mirror to use (say 1980 and onwards) but if you do use an antique mirror just cut out the oven cleaner and use the hydrochloric acid instead!
What you will need is:- Mirror
- Enough fabric to cover the frame and mirror
- Modge Podge
- Paint brushes or foam brushes to spread glue
- Oven cleaner (or hydrochloric acid)
- Scissors
- Gloves (protect yourself when you use the chemicals!)
- Iron (if your fabric needs to be smoothed out)
I had pretty much everything already. I suggest trying the oven cleaner out first if it is a newer mirror but if you want to play it safe you can just go straight to using the acid. The acid will work! After trying millions of things, the acid stripped the silvering off in seconds. Just be careful and know that you will have to buy a huge amount, which you might not use again. If you live near me you can totally have some of mine because I probably won't be using it very often!
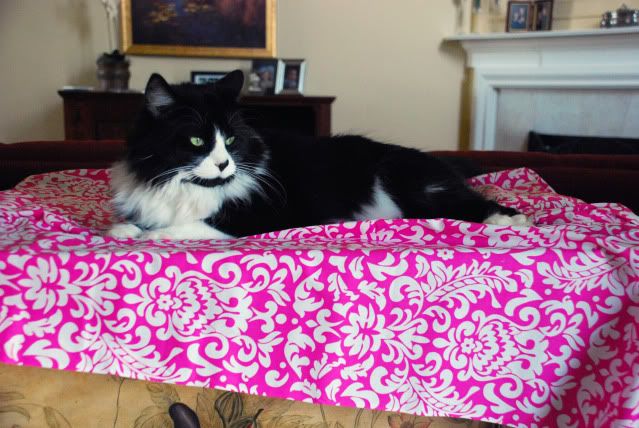 Get your cat off of your fabric. Easier said than done.
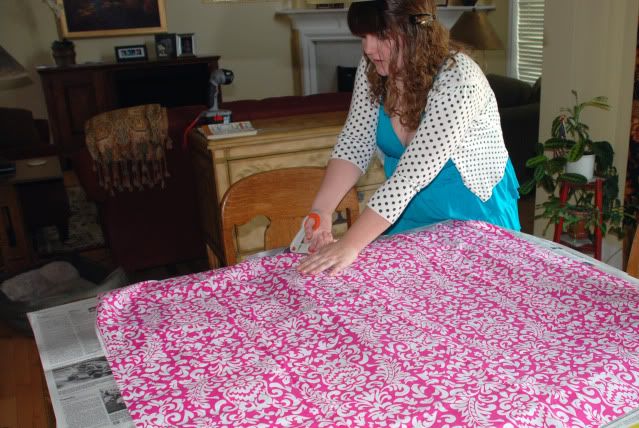 Cut fabric down to size. I left around a four inch amount to wrap around the back and on the inside. Don't forget to leave the extra on to wrap around the frame!
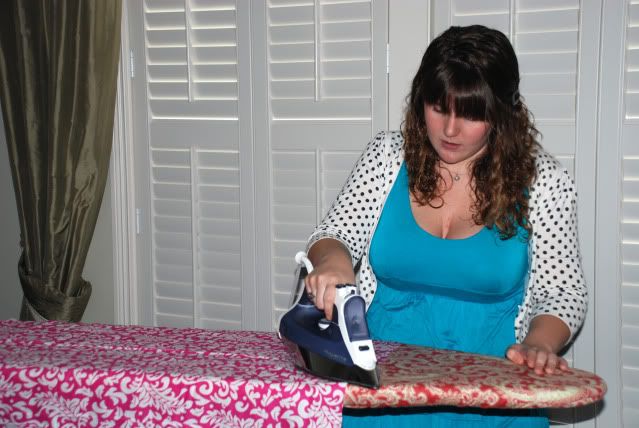 (Optional) Iron fabric if there are huge wrinkles. It will make it a lot easier to glue on the fabric smoothly.
 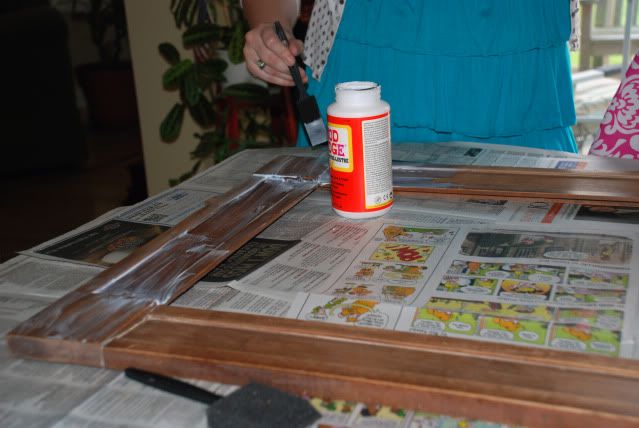 Cover that frame in glue! Cake it on!
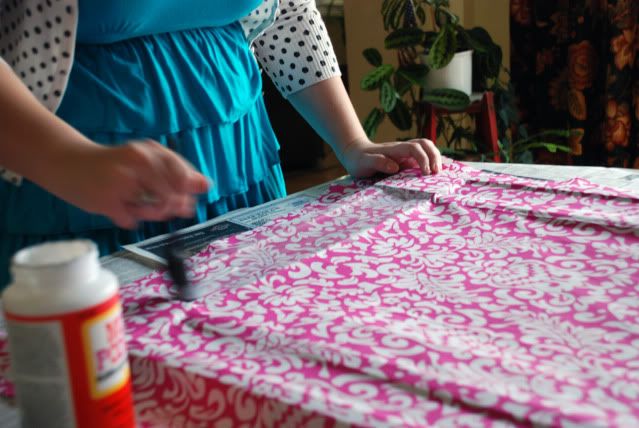 Put fabric one and smooth into any corners or edges. Add lots of glue to cover the fabric.
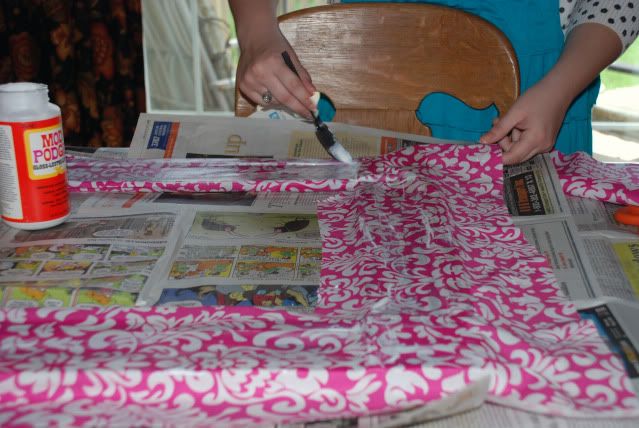 Keep gluing and checking to make sure the fabric is smooth!
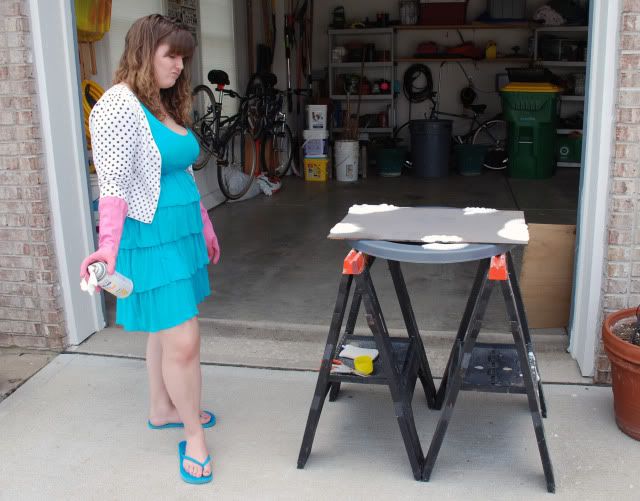 Now its time to go spray your mirror with the oven cleaner (or acid). You can do this earlier if you would like, I waited to see where my fabric would end up somewhat.
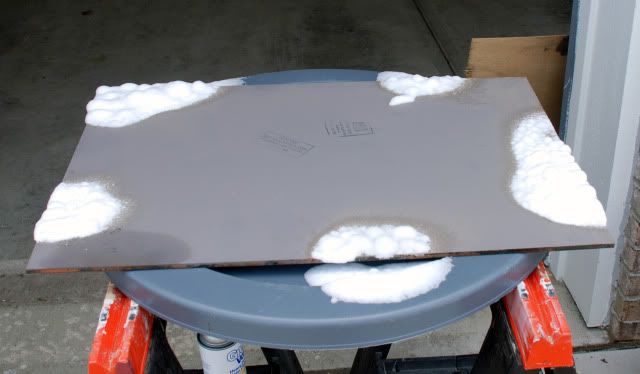 I wanted my splotches to be as natural looking as possible. The only one I wasn't too happy with is the one on the bottom of the picture. Leave the oven cleaner on for at least ten minutes, but the acid should be washed off fairly quickly.
 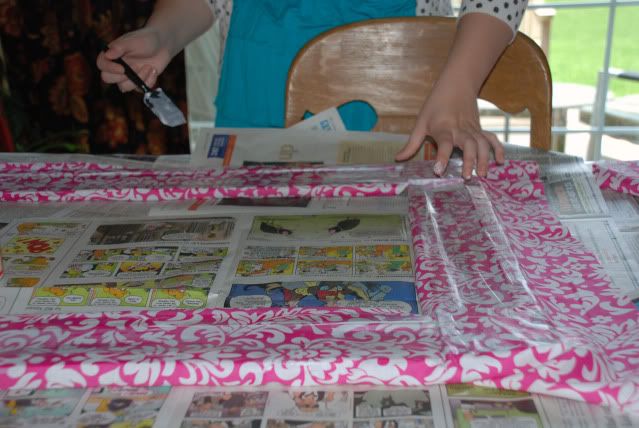 Make sure your fabric is staying smooth!
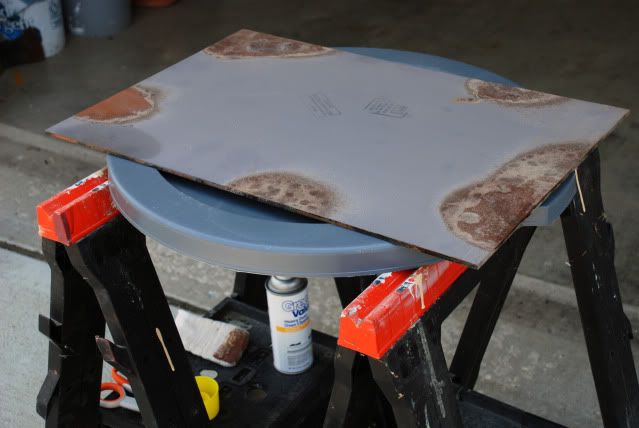 This is what the oven cleaner/ acid should look like once it has set. If you are using acid, use water to neutralize the reaction after a few minutes of it being on the mirror. The silvering should virtually wash right off with the water.
 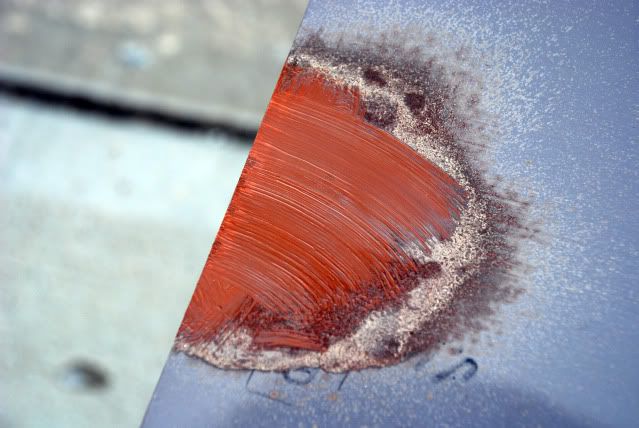 With the oven cleaner scrub off the silver paint and you will see some muddy yuck. I'm not sure if this will be on newer mirrors. Did I mention mine was a lead based paint? Yum!
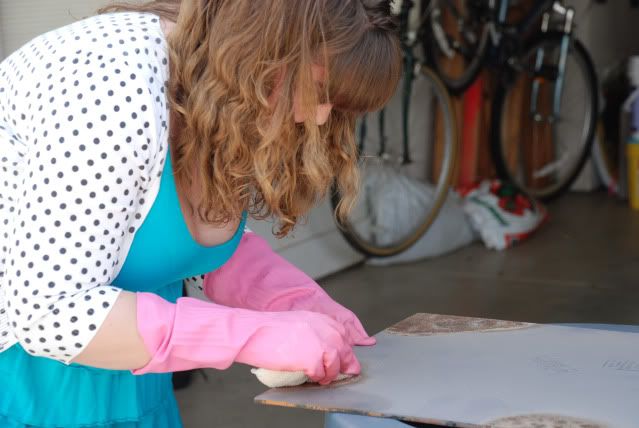 I had to scrub and scrub to get even a little bit of the silvering off of my mirror with the oven cleaner. If this is happening to you, stop now and go get some hydrochloric acid. It will save you lots of time! It really shouldn't take much to get it off.
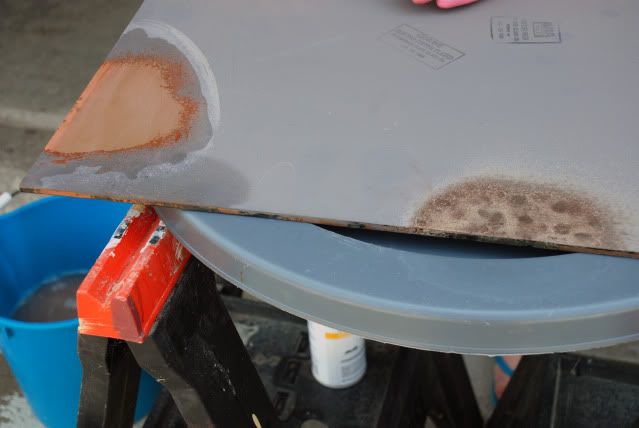 You can see the oven cleaner just wasn't doing the trick. I suggest a steel wool fine scrubby. I used a 0 grade. Super fine!
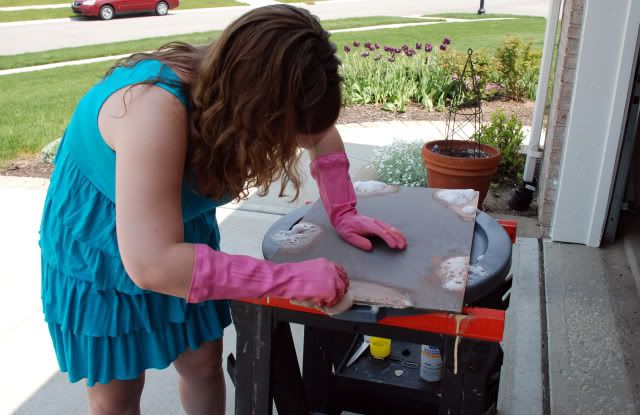 Really, this stuff should be coming right off. Once again, if it isn't get yourself some acid!
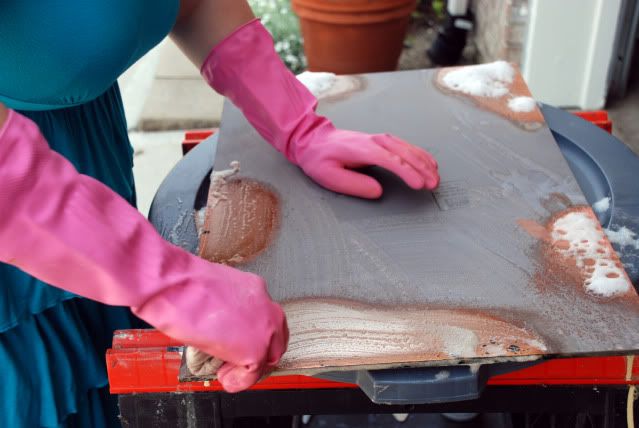 You can see I finally started getting some results with the oven cleaner. The silvering will come off and turn clear, like the glass it really is!
After this point rinse off the mirror and let it dry. Using a paper towel is a good idea to get all of the silver gunk off.
I failed to get photos of the next few steps. I apologize but they are pretty self explanatory/ repeats of what I did above.
To get your mirrors fabric to match up perfectly (or almost) it takes a lot of ocd and planning. I wanted mine to be a perfect match so I took the time to lay the fabric down under the mirror and look through the glass parts to see if it matched with frame. If you don't care about this, just start cutting your fabric! I also traced around where the mirror should go so I would know where to lay the mirror back down.
Once its all lined up (or not) cut the fabric down to the size of your mirror. I left an extra inch on each side so I didn't get glue everywhere.
Then cover the back of your mirror with glue and slowly lower it onto your fabric. I found it pretty easy to leave the fabric on the table and lower the mirror down so the pressure would hold the fabric and mirror together. You may need two sets of hands for this part. My friend Heather was around and lent a helping hand!
Let it all dry and cut off your excess fabric around the frame.
 Once its dry its time to put the mirror back in the frame!
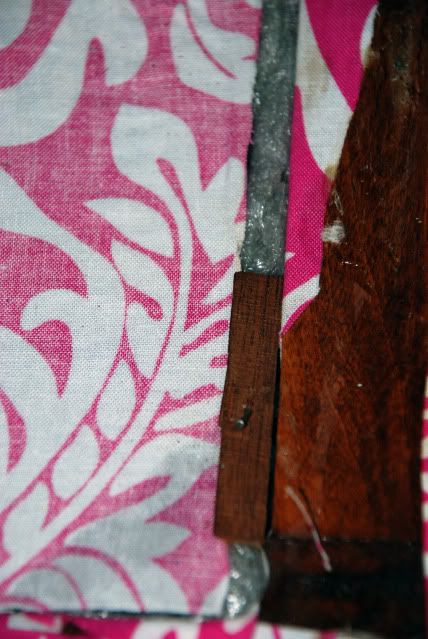
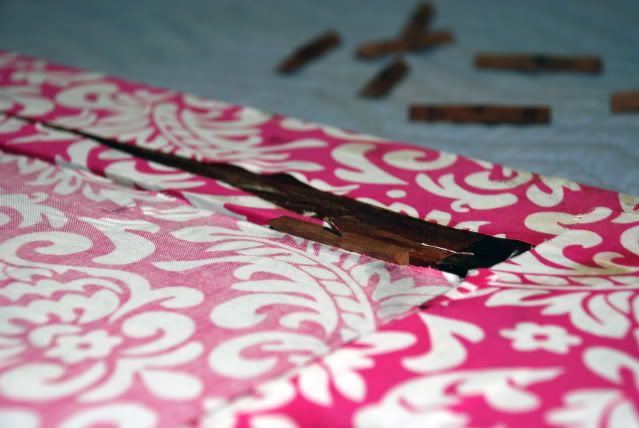
 We had to use little wooden pieces to get my antique mirror back in the frame, but your mirror may be different depending on how old it is. Then you can go ahead and screw or attach your back board back on to hold the whole thing together.
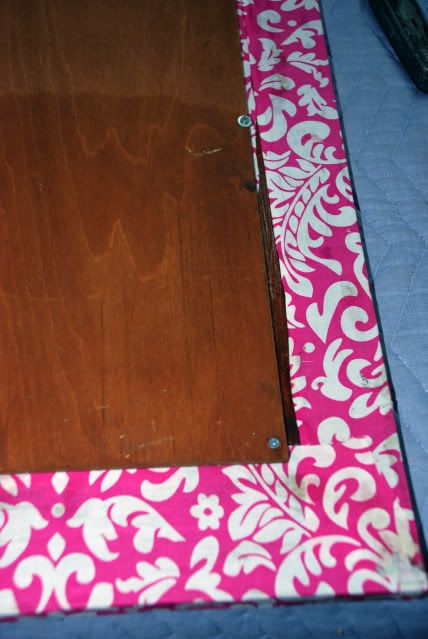
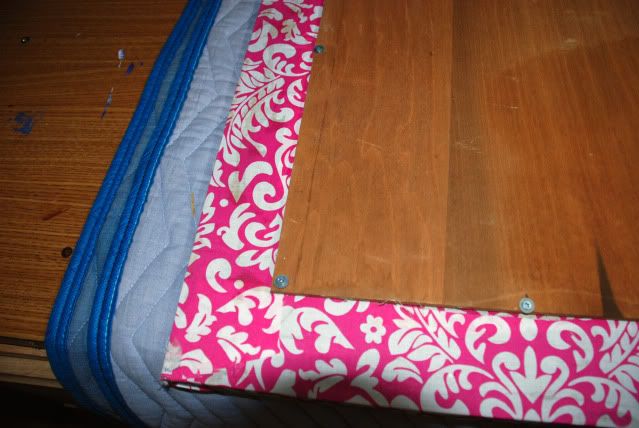 Here is the back of my mirror with everything all attached!
 Finally, put the hanging wire back on if your frame has one.
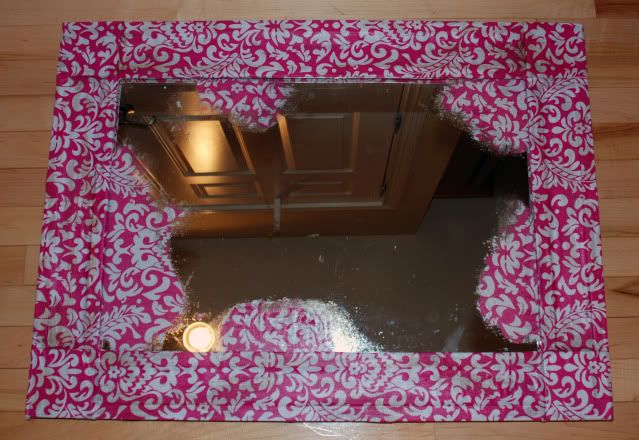 Tada! You can almost not tell where the mirror and frame start and end in this image.
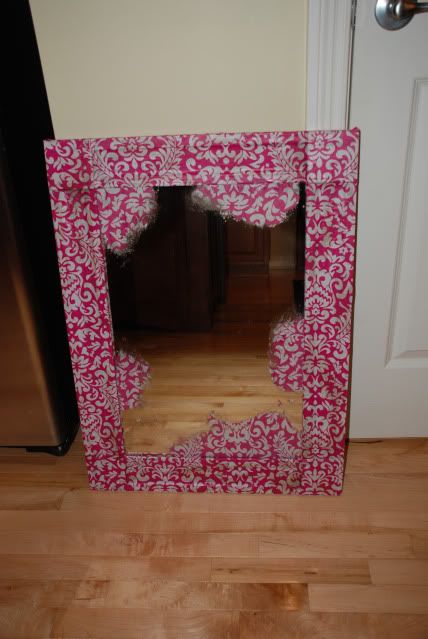 Everything is a bit more defined in this photo. I think I will want to hang it with the big blob on the bottom.
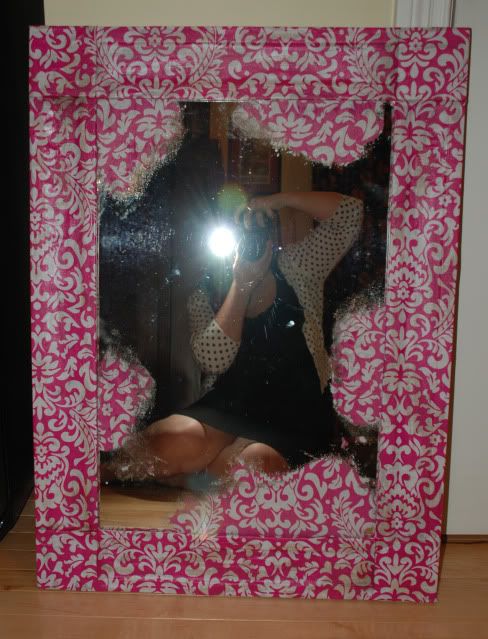 And another photo with me in it! As you can see, most of the mirror is still usable, some places the silvering is still slightly there making my fabric more transparent. I am really happy with how this all turned out!
Special thanks to my friends Kaleigh and Heather for helping me out! Kaleigh took some magnificent photos for me and helped with the frame and Heather really helped me with putting the fabric on the back of the mirror. My dad also really helped out with putting it all back together again!
I hope you all enjoyed my first craft tutorial, I have another one coming your way soon!